# Ocelot Demo
for .net core 3.1 (用时约20分钟)
具体操作
步骤:
- 创建天气预报模板项目WeatherForecast(预备)
- 创建空项目
- 修改配置add logging
- add ocelot nuget package
- 运行ocelotdemo应用程序(Routing)
- 添加jwtbearer引用并配置后运行(Ahthentication)
- 限流控制(Rate limiting)
- 缓存控制策略(Response Caching)
- 混合策略
创建天气预报模板项目(预备)
本项目服务供ocelot调用。
在ocelotdemo项目解决方案下添加新项目。
选择现有的API模板
编译,运行.\WeatherForecast\bin\Debug\netcoreapp3.1下面的WeatherForecast.exe启动Web应用服务。

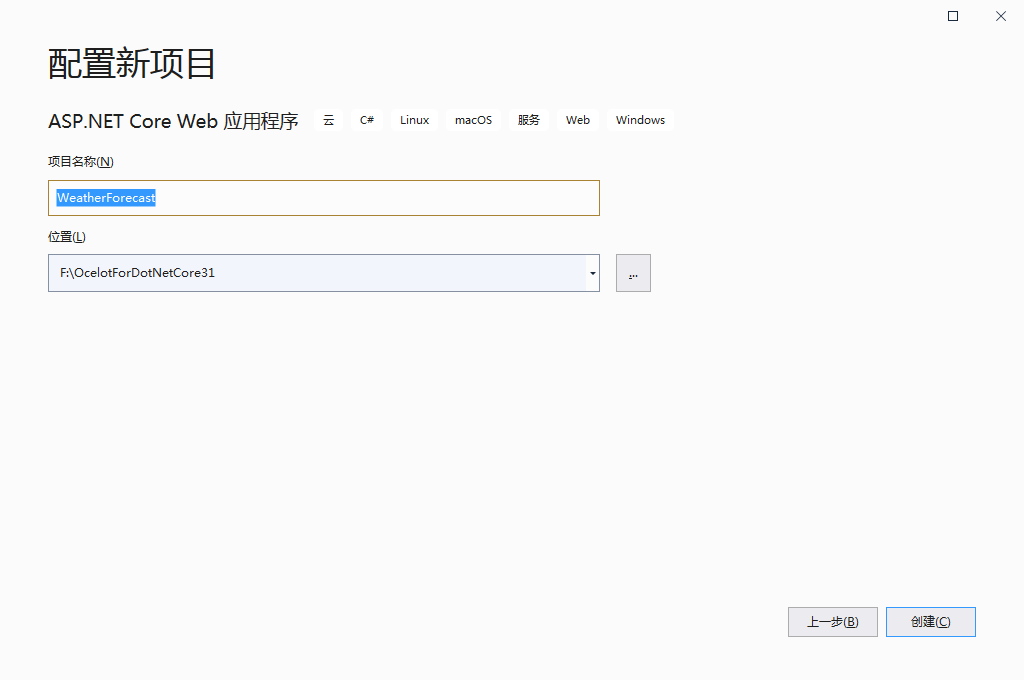
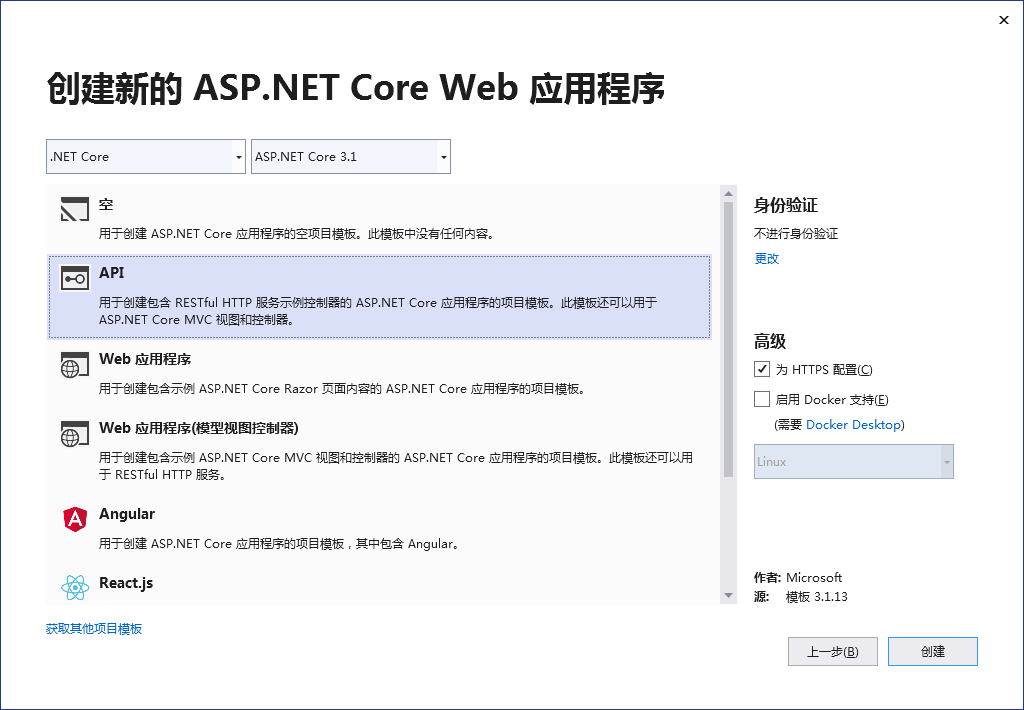
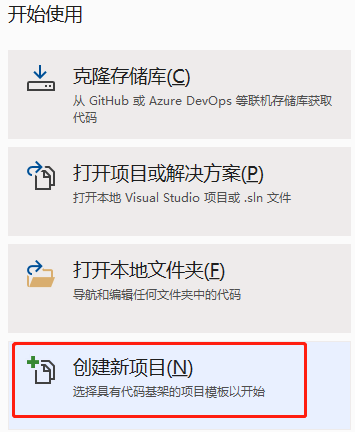
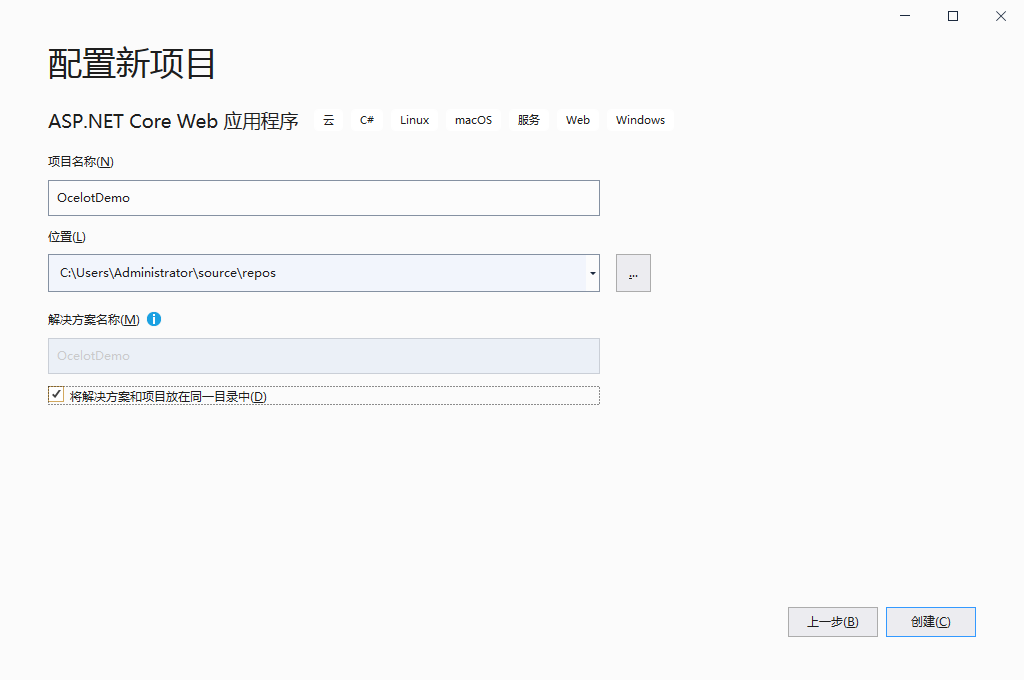
创建空项目
新建
选择 ASP.NET Core Web 应用程序

输入名称OcelotDemo,打勾
ASP.NET Core 3.1 空项目
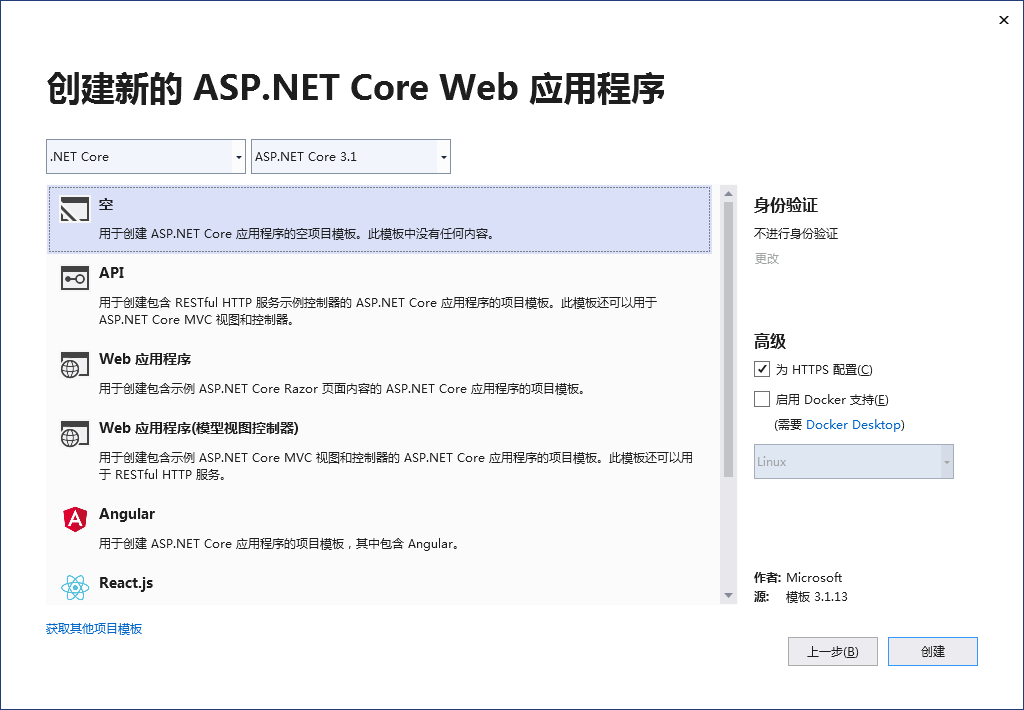
创建,完成。

修改配置(Add logging)
Program.cs配置logging
public static IHostBuilder CreateHostBuilder(string[] args) =>
            Host.CreateDefaultBuilder(args)
                .ConfigureWebHostDefaults(webBuilder =>
                {
                    webBuilder.UseStartup<Startup>();
                })
            .ConfigureLogging(logging => logging.AddConsole());
添加Ocelot nuget 包
项目右键--管理Nuget程序包,浏览,输入ocelot,选择版本16.0.1 ,这个版本支持.net core v3.1
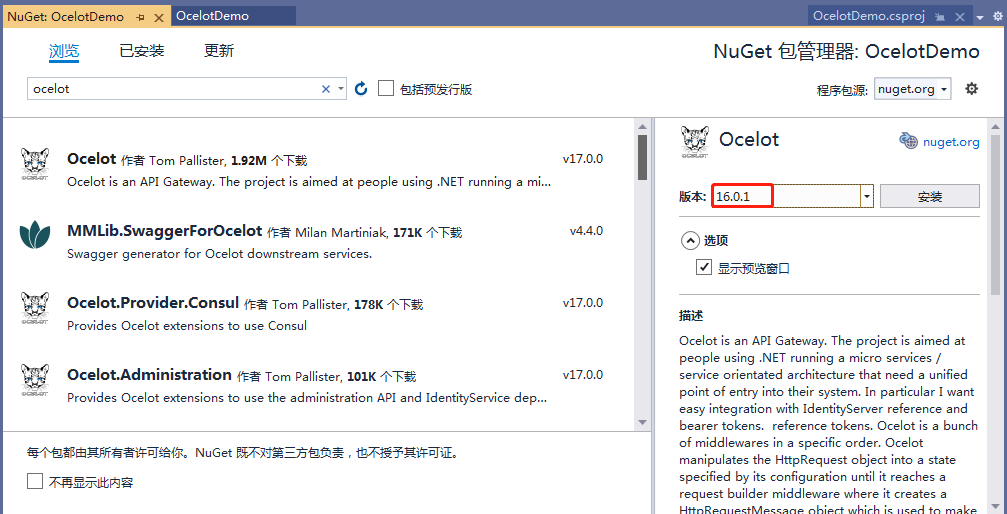
安装,确定
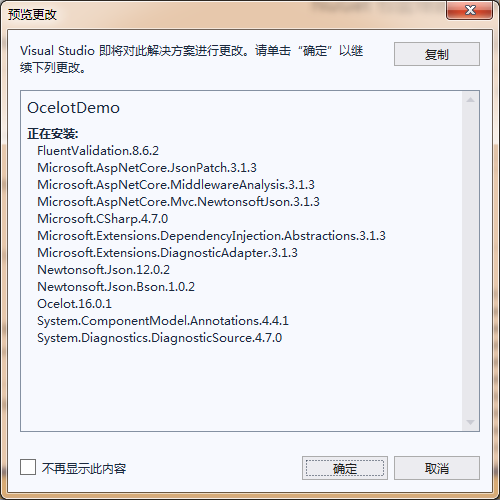
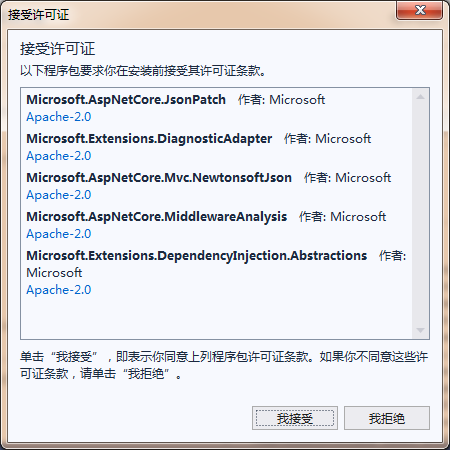
接受许可
安装完成后,修改Startup.cs
using Ocelot.DependencyInjection;
using Ocelot.Middleware;

public class Startup
{
    // ...
    public void ConfigureServices(IServiceCollection services)
        {
            services.AddOcelot();
        }
    public void Configure(IApplicationBuilder app, IWebHostEnvironment env)
        {
            //...
            app.UseOcelot().Wait();
        }
}
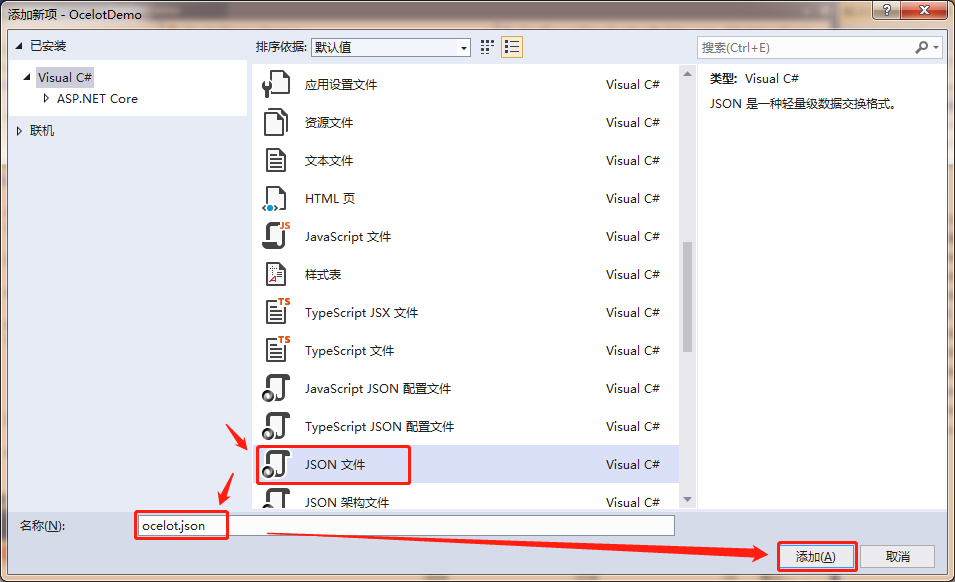
添加新建item--JSON文件,命名ocelot.json
复制一个副本改名为ocelot.dev.json

项目右键,属性,调试,修改变量值为dev
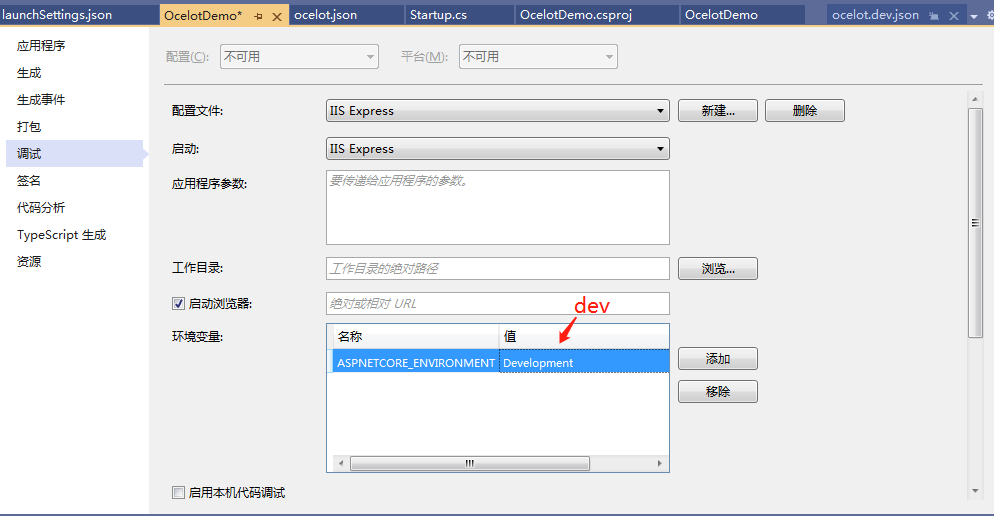
保存。
修改launchSettings.json文件
"applicationUrl": "https://localhost:5021;http://localhost:5020"
配置ocelot.dev.json
{
  "Routes": [
    {
      "DownstreamPathTemplate": "/weatherforecast",
      "DownstreamScheme": "https",
      "DownstreamHostAndPorts": [
        {
          "Host": "localhost",
          "Port": "5001"
        }
      ],
      "UpstreamPathTemplate" : "/api/weather",
      "UpstreamHttpMethod" : [ "Get" ]
    }
  ],
  "GlobalConfiguaration": {
    "BaseUrl": "https://localhost:5021"
  }
}
修改模拟器

修改Program.cs
public static class Program
加入配置文件
 public static IHostBuilder CreateHostBuilder(string[] args) =>
            Host.CreateDefaultBuilder(args)
                .ConfigureWebHostDefaults(webBuilder =>
                {
                    var env = Environment.GetEnvironmentVariable("ASPNETCORE_ENVIRONMENT");
                    webBuilder.UseStartup<Startup>();
                    webBuilder.ConfigureAppConfiguration(config =>
                    config.AddJsonFile($"ocelot.{env}.json"));
                })
            .ConfigureLogging(logging => logging.AddConsole());
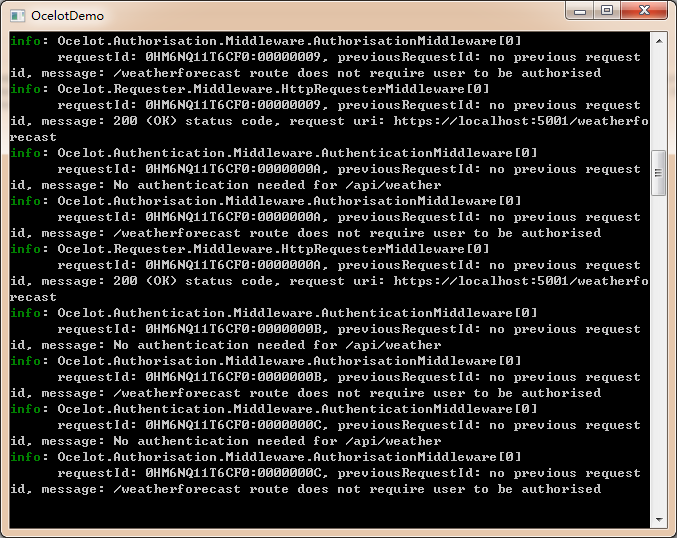
运行应用程序
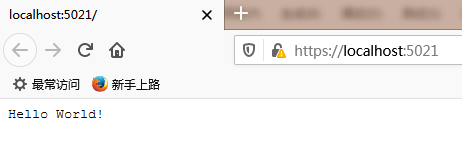
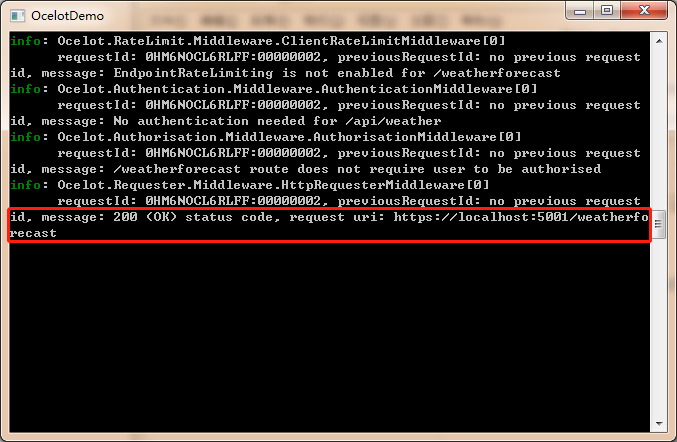
输入url:https://localhost:5021/api/weather,

可以看到调用了https://localhost:5001/weatherforecast
添加jwtbearer引用并配置后运行
这个可以看另外专题
添加引用
项目右键--管理Nuget程序包,浏览,输入jwtbearer,选择Microsoft.AspNetCore.Authentication.JwtBearer,版本3.1.12,可以看到该版本支持.net core v3.1

预览更改,确定

接受许可证,完成
配置
修改Startup.cs文件
// 引用
using System.Text;
using Microsoft.AspNetCore.Authentication.JwtBearer;
using Microsoft.IdentityModel.Tokens;

// ConfigureServices方法
var secret = "Thisismytestprivatekey";
            var key = Encoding.ASCII.GetBytes(secret);
            services.AddAuthentication(option =>
            {
                option.DefaultAuthenticateScheme = JwtBearerDefaults.AuthenticationScheme;
                option.DefaultChallengeScheme = JwtBearerDefaults.AuthenticationScheme;
            }).AddJwtBearer(options => {
                options.RequireHttpsMetadata = false;
                options.SaveToken = true;
                options.TokenValidationParameters = new TokenValidationParameters
                {
                    IssuerSigningKey = new SymmetricSecurityKey(key),
                    ValidateIssuerSigningKey = true,
                    ValidateIssuer = false,
                    ValidateAudience = false
                };
            });

            services.AddOcelot();

// Configure方法
app.UseRouting();
//后面加
app.UseAuthentication();
// ...
修改ocelot.dev.json文件,
在Routes添加AuthenticationOptions选项:
{
  "Routes": [
    {
      "DownstreamPathTemplate": "/weatherforecast",
      "DownstreamScheme": "https",
      "DownstreamHostAndPorts": [
        {
          "Host": "localhost",
          "Port": "5001"
        }
      ],
      "UpstreamPathTemplate" : "/api/weather",
      "UpstreamHttpMethod": [ "Get" ],
      "AuthenticationOptions": {
        "AuthenticationProviderKey": "Bearer",
        "AllowedScopes": []
      }
    }
  ],
  "GlobalConfiguaration": {
    "BaseUrl": "https://localhost:5021"
  }
}
再运行
可以在浏览器F12打开Debug看到401错误
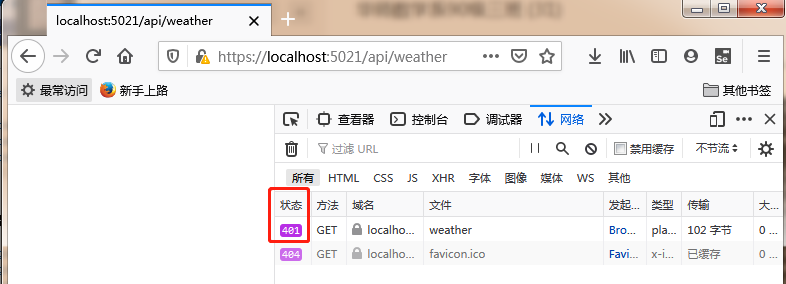
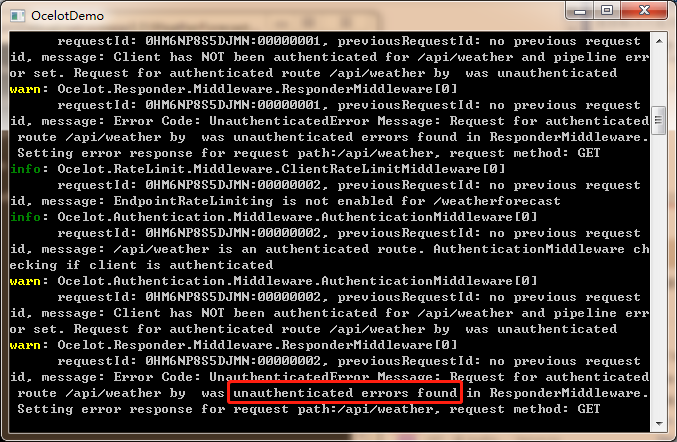
查看控制台窗口,可以看到unauthenticated errors字样
限流控制
修改配置ocelot.dev.json文件,在Routes中添加RateLimitOptions选项。完成后配置:
{
  "Routes": [
    {
      "DownstreamPathTemplate": "/weatherforecast",
      "DownstreamScheme": "https",
      "DownstreamHostAndPorts": [
        {
          "Host": "localhost",
          "Port": "5001"
        }
      ],
      "UpstreamPathTemplate": "/api/weather",
      "UpstreamHttpMethod": [ "Get" ],
      "AuthenticationOptions": {
        "AuthenticationProviderKey": "Bearer",
        "AllowedScopes": []
      },
      "RateLimitOptions": {
        "ClientWhitelist": [],
        "EnableRateLimiting": true,
        "Period": "5s",
        "PeriodTimespan": 1,
        "Limit": 1
      }
    }
  ],
  "GlobalConfiguaration": {
    "BaseUrl": "https://localhost:5021"
  }
}
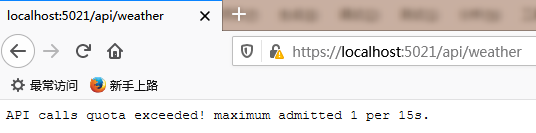
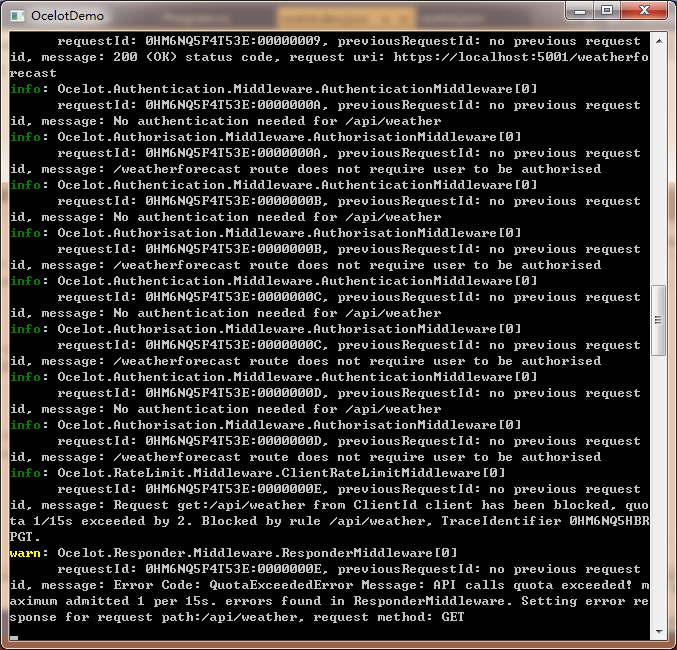
再次运行,使用Postman测试5秒内频繁请求多次,将被截流。
缓存控制策略
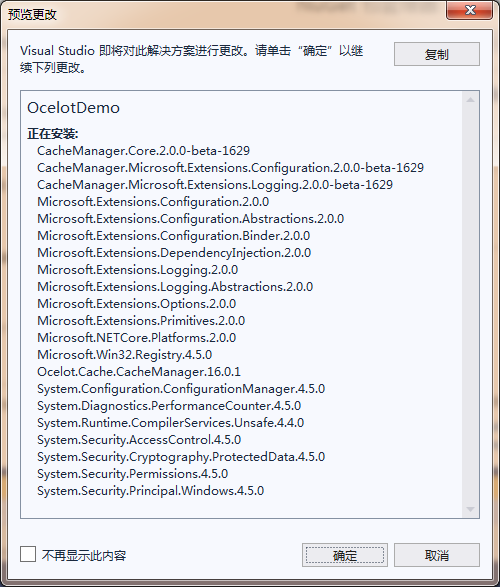
项目右键--管理Nuget程序包,浏览,输入ocelot,选择Ocelot.Cache.CacheManager,版本16.0.1
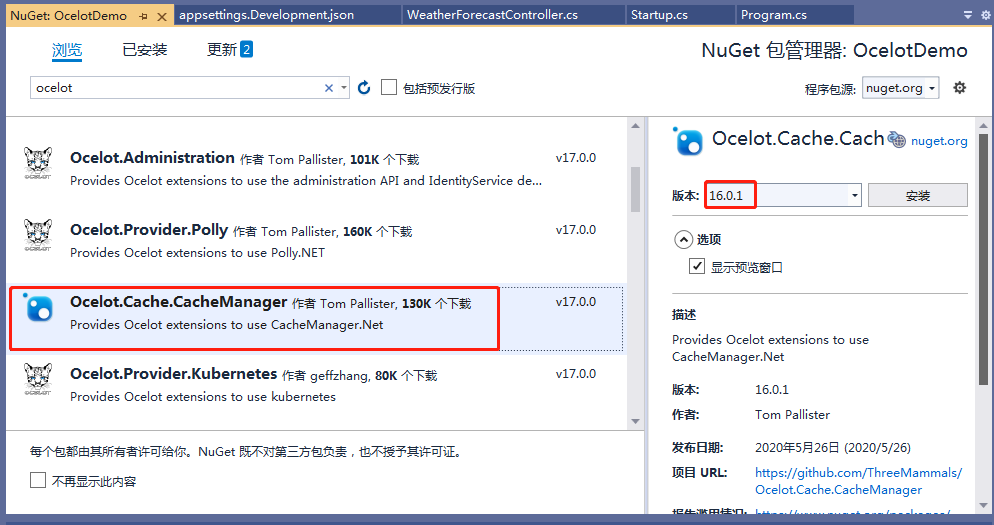
确定,我接受
完成后修改Startup.cs配置参数。
using Ocelot.Cache.CacheManager;

// 在`ConfigureServices`方法中,
services.AddOcelot().AddCacheManager(settings => settings.WithDictionaryHandle());
修改配置ocelot.dev.json文件,在Routes中添加FileCacheOptions选项。完成后配置(设置30秒):
"FileCacheOptions": { "TtlSeconds": 30 }
再运行,可以看到30秒内只请求了一次api(200 \
混合策略
结合缓存和限流,修改配置如下:
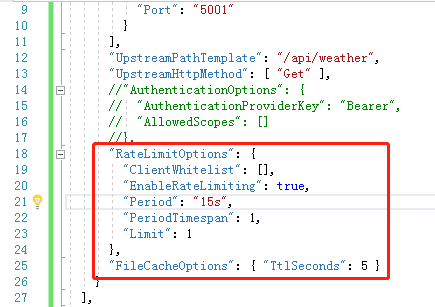
试运行效果
可以看到缓存效果(5秒内)及限流控制(15秒内只能请求1次)。
注意到,PeriodTimespan在1秒后恢复了,所以实际效果是当发起一次请求后开始计时,但在1秒后又重置了(熔断恢复时间),故只有1秒内请求超过一次才会熔断。
(END)